
If you read the first two parts of this series “How to make infographics”, you’ve already learned where to find some great and highly adaptable free templates for infographics and how to do research for your infographics using free online databases. Maybe you’ve even tried making an infographic based on some of those recommendations. But even the most well-researched, well-designed infographic is only going to be useful to you and your business if other people actually see it, which is why I’m going to use the last part of this series to discuss how to put the final touches on your infographic and promote it without spending any marketing dollars.
Formatting Your Infographic
You’ll want to be sure that your infographic looks good on all the sites you share it to and all the platforms a web user might view it on, from a desktop computer to an iPhone. Fortunately, there are several free tools you can use to take the guesswork out of formatting your infographic.
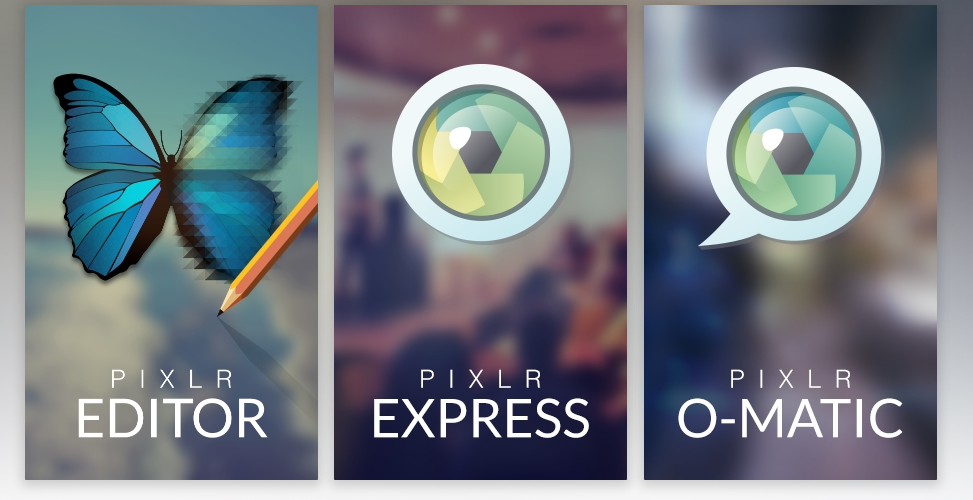
Pixlr: If you already know the dimensions you need to share your infographic on your blog or a social media platform, you can use the image-editing site Pixlr to quickly adjust your infographic without distorting it. You can also use Pixlr to create a preview of your infographic to share as a thumbnail and link back to the original infographic on your site: just choose a section of the infographic and crop it.
Social Image Resizer Tool: With all the different image-sharing social media sites and different sizes of images on each site (Facebook alone has different dimensions for thumbnails, profile pictures, cover photos, and images in the News Feed), it can be hard to keep track of the dimensions you should use for your infographic. Fortunately, the Social Media Resizer Tool lets you upload your image from your computer or copy its URL and adjust the size for different uses on Facebook, Twitter, and Google+.
Social Media Image Maker: This tool is similar to the Social Image Resizer Tool, but allows you to adjust your infographic for sharing on even more sites, including LinkedIn, Pinterest, Flickr, and Tumblr. Just scroll down to the type of image you want to make, click “Create,” and upload your infographic as a jpg or png.
Timeline Slicer: If you go to your business’s page on Facebook, you’ll see that your profile icon is laid out on top of the larger cover photo. Timeline Slicer lets you line up your profile icon and cover photo so that they fit seamlessly together, which could be useful if you want to promote a horizontally-oriented infographic.
Smush.it: You’ll want to ensure that your infographic image loads quickly on any type of platform, or else web users may lose interest and click away. When you upload your infographic to Smush.it, the optimization tool will remove unnecessary bytes from the image file and give you a downloadable zip file with your minimized infographic, allowing you to share an infographic that will load faster.
Promoting Sharing

If you want your infographic to be as far-reaching as possible, you should make your infographic is as easy to share as possible. Here are a few tools that can help you do just that.
Embed Code Generator : When you include an embed code with your infographic, you’re making it easy for web users to share the infographic on their own website simply by copying and pasting the code. Fortunately, you don’t have to be well-versed in HTML to create this code. Just go to the Embed Code Generator, where you’ll be prompted to enter your blog name, the URL of your blog post with the infographic, the URL of the infographic image itself, alt text for the infographic, and your chosen height and width for the embedded infographic.
Use social media sharing buttons: You’ve probably seen those little square icons with social media logos that encourage web users to share content on different platforms, and if you aren’t using them yet, you should be. To add these buttons to an infographic on your website, you’ll need to copy and paste an embed code, which you can get here for Facebookand here for Twitter. You can learn how to get more social media buttons using this cheat sheet.
Hashtagify.me: Facebook, Twitter, and Pinterest all let users add hashtags now in order to make posts more searchable, so it’s a good idea to add a couple of relevant hashtags to your infographic. Hashtagify.me lets you discover the popularity of hashtags that you enter in a search bar, along with related popular hashtags and top influencers in your market. Knowing those top influencers makes it easier to reach out to taste makers who may be interested in promoting your infographic, giving you a larger audience for free.
As you can see, infographics can be a very low-budget (or even no-budget) way to promote your brand across social media. While there may be some cases when you want to hire a graphic designer to help you, it’s still possible to make and share good-looking infographics using the many free tools available online.
Juliana is an awesome writer so I can see how she has been featured on Yahoo. This article is amazing. Going to read the first two parts of this series, I always tend to catch the end of things LOL.
Thanks for the kind comments Dana!
Hi! Info graphics is one of the vital thing one must keep in mind while trying to market their site. I will follow this guide to boost my site, and I am sure this well help me. Now, I will use all the listed tricks above to help rank my site including Hashtagify.me and Embedded Code Gen!
They’re really amazing and will recommend to all my friends too.
Thank you,
http://www.theguyfactor.com